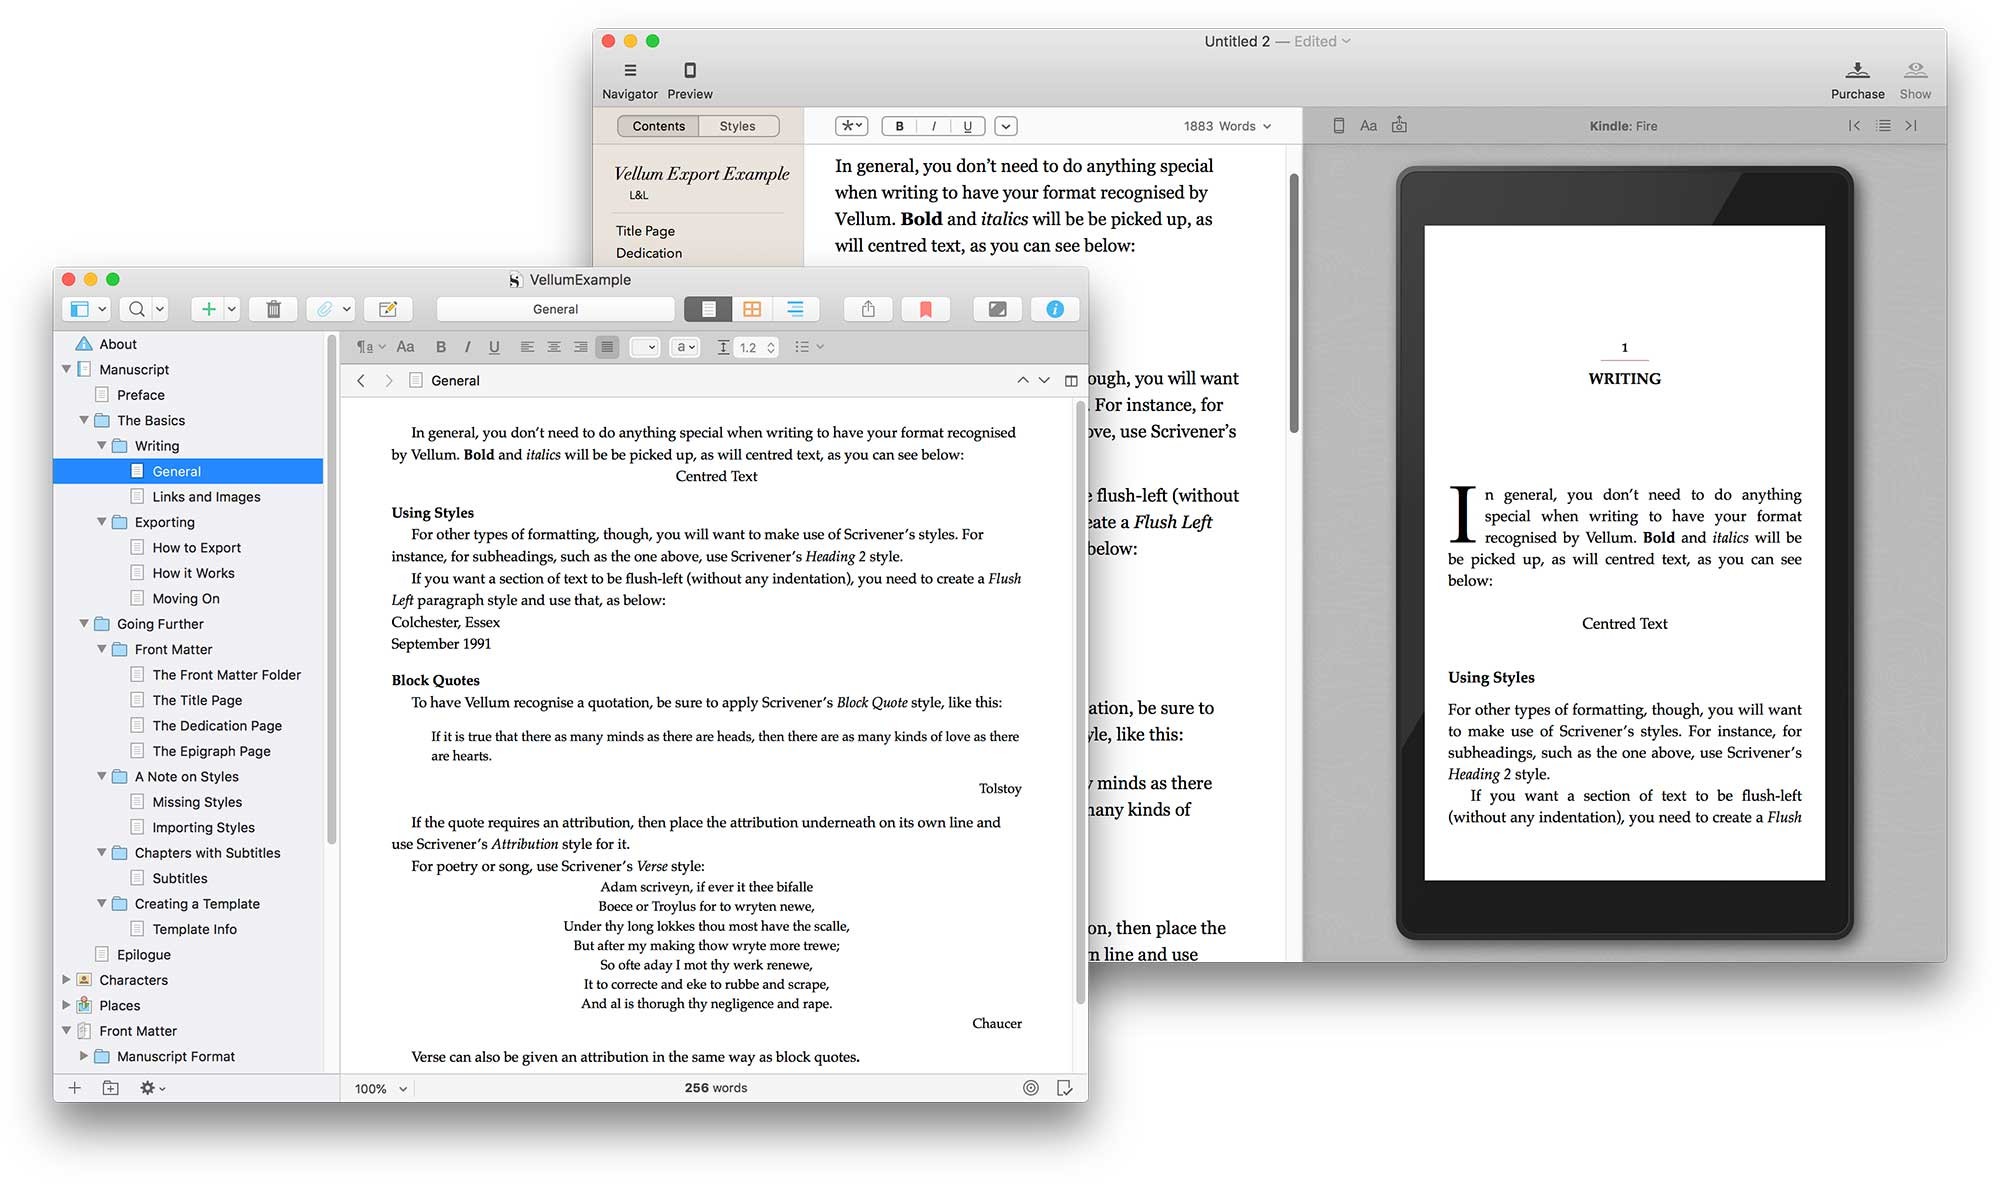
Export to Vellum

Vellum is a macOS app dedicated to self-publishing both ebooks and print books. While Scrivener's Compile feature is capable of producing beautiful-looking ebooks and PDFs suitable for self-publishing through channels such as CreateSpace, we like to provide our users with options, and we know we have users who like to export their manuscripts for use with Vellum's publishing tools. To this end, as of Scrivener 3.0.3 for macOS, we're making it easy to export to Vellum by providing a "Vellum Export" Compile format. Here's how to use it.


Note: What follows assumes you are familiar with both Scrivener and Vellum.

The Basics

Vellum has excellent support for importing Word (.docx) files, and interprets various elements inside such files to work out how the book should be arranged and formatted. To export to Vellum from Scrivener, then, you need to export in Word format. Here are the basics:

  1. Go to File > Compile...
  2. Select "Microsoft Word (.docx)" from the "Compile for" menu button at the top.
  3. Under "Formats" on the left, choose "Vellum Export".
  4. In the metadata options (the tag icon), enter book information such as the title and author.
  5. If you created your project using the Novel, Novel (with Parts) or General Non-Fiction templates, that's all you should need to do. If you started from another template or from Blank, click "Assign Section Layouts" to assign the layouts in the "Vellum Export" format to the Section Types in your project.
  6. Click on "Compile..." and save the .docx file somewhere on your computer.
  7. Open Vellum.
  8. Go to File > Import Word File...
  9. Choose the file you exported from Scrivener.

That's it! Vellum should have broken up your manuscript into the correct structure, maintaining all titles and text formatting. For many  books, this is all you'll need to do. There are a few considerations that you will want to bear in mind to make things as smooth as possible, though, and we'll go into those below.

Using Styles

Although Vellum will preserve bold, italics and centred paragraphs, you'll need to use styles in Scrivener for Vellum to recognise features such as block quotes and headings. In particular:

  • Use the Block Quote style in Scrivener to have quotes recognised by Vellum.
  • For an attribution after a quote, type the attribution on the line immediately after the quote and use the Attribution style.
  • For poetry or song, use the Verse style in Scrivener. (If this style does not exist in your project, create a new pargraph style and name it "Verse" using Format > Style > New Style from Selection.)
  • If you want a caption beneath an image, place the caption on a new line after the image in Scrivener's editor and use the Caption style.
  • For subheadings inside documents, use the Heading 2 style.
  • If you need any text kept flush left (that is, without any indentation), create a Flush Left style in Scrivener (using Format > Style > New Style from Selection) and use that.

Adding Front Matter (Optional)

You usually won't need to worry about adding front matter, since Vellum will automatically generate a title page from the metadata you enter. You only really need to add front matter if you want your book to have a dedication or epigraph page. If you do, here's how:

  • Create a folder in which to store the front matter items somewhere in your project. In projects created from templates that already have a "Front Matter" folder set up, create the folder inside it (you might name the new folder "Vellum", to make it obvious what it is for).
  • Ensure that the front matter items are set to use Section Types that mark them out as front matter, and that these Section Types are set to the "New Page" Section Layout for the "Vellum Export" format in Compile. (If your project was created from the NovelNovel (with Parts) or General Non-Fiction project templates, this will all happen automatically as long as you create the Vellum front matter folder inside the existing "Front Matter" folder.
  • Add separate documents for the title page, dedication page, and epigraph inside the Vellum front matter folder.
  • For the title page, don't add any blank lines, use a "Book Title" paragraph style for the title, an "Author" paragraph style for the author line, and a "Book Subtitle" style if your book requires a subtitle. (You will need to create these styles using Format > Style > New Style From Selection.)
  • For the dedication page, include the dedication text and nothing else and apply a "Dedication" paragraph style (again, you will need to create this style).
  • For the epigraph page, use an "Epigraph" paragraph style for the epigraph text (once more, you will need to create the "Epigraph" style). If the epigraph needs an attribution, type it on the line below and apply Scrivener's "Attribution" style to it.
  • In Compile, tick "Add front matter" and choose the folder you created for your Vellum front matter.

Sample Project

You can download a sample project demonstrating everything described here from the link below.

Download Sample Project

Once you've downloaded it, you can test it as follows:

  1. Go to File > Compile...
  2. Click "Compile" and save the Word file to your computer.
  3. In Vellum, choose File > Import Word File... and choose the file you just exported from Scrivener.
  4. Compare the project in Scrivener with the results in Vellum.

The project acts not only as an example of exporting to Vellum but also as a guide in itself, so if you need a little more guidance than is given above, be sure to read through the sample project and look at how it is set up.