

These three tips will help you get more done with the Binder in your Scrivener projects.
The Binder is the heart of your Scrivener projects; it’s where you create files and folders, write scenes and chapters, and organize and rearrange your project. (Read Use Folders and Texts to Power Up the Scrivener Binder.)
As you work on a long-form writing project, you’ll spend most of your time in the Editor, but you’ll also view and work with the Binder, especially as you progress in your project. You will move and rearrange files in the Binder, you’ll split and merge files, and you’ll search for items using the search field above the Binder.
All the articles linked in the paragraph above contain tips that will help you work with the Binder. In this article, we’re presenting TK tips for working efficiently with the Binder that didn’t fit in the above articles.
Add document counts to folder icons in the Binder
When you have lots of files and folders in your project, it can be helpful to collapse the folders so you don’t see all the files lined up vertically in the Binder. You can tell Scrivener to display the number of items in each folder of the Binder. This can help you keep track of how many files are in each folder and can be useful if you have set up your Binder with folders as sections of a project, rather than just chapters.
Choose View > Outline > Show Subdocument Counts in Binder, and the Binder displays like this:
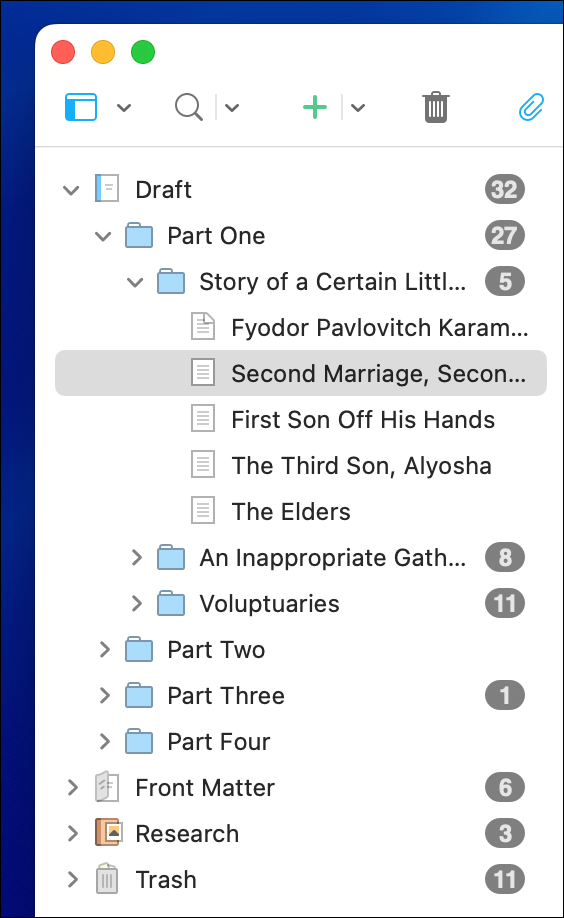
This also reminds you how many items are in your Research folder, the Trash, and in other folders in the Binder.
Add links to files in the Inspector
As you advance on your project, you may need to regularly refer back to other scenes, chapters, or sections that you have already written. To confirm details or events. You can do this by clicking the appropriate files in the binder, but if you think you will need to often consult other files when working with a specific file, you can add links to these files in the Inspector.
To do this, drag a file from the Binder to the Notes section of the Inspector when viewing a different file. This creates a link to the dragged file.
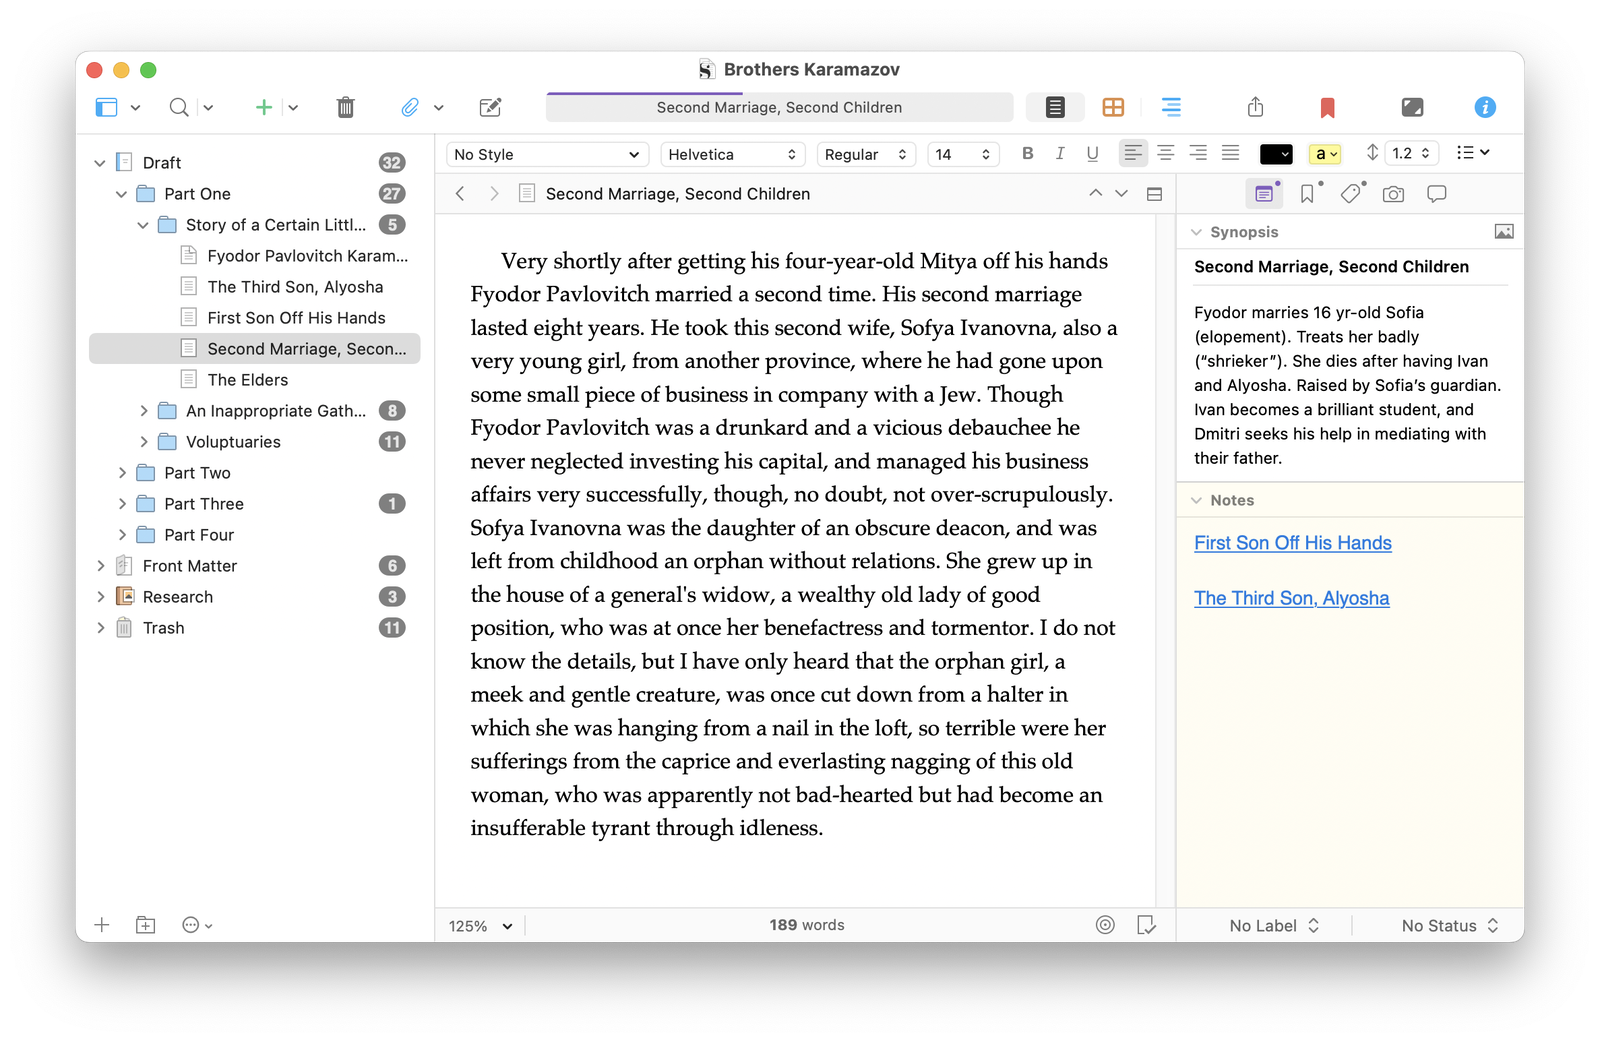
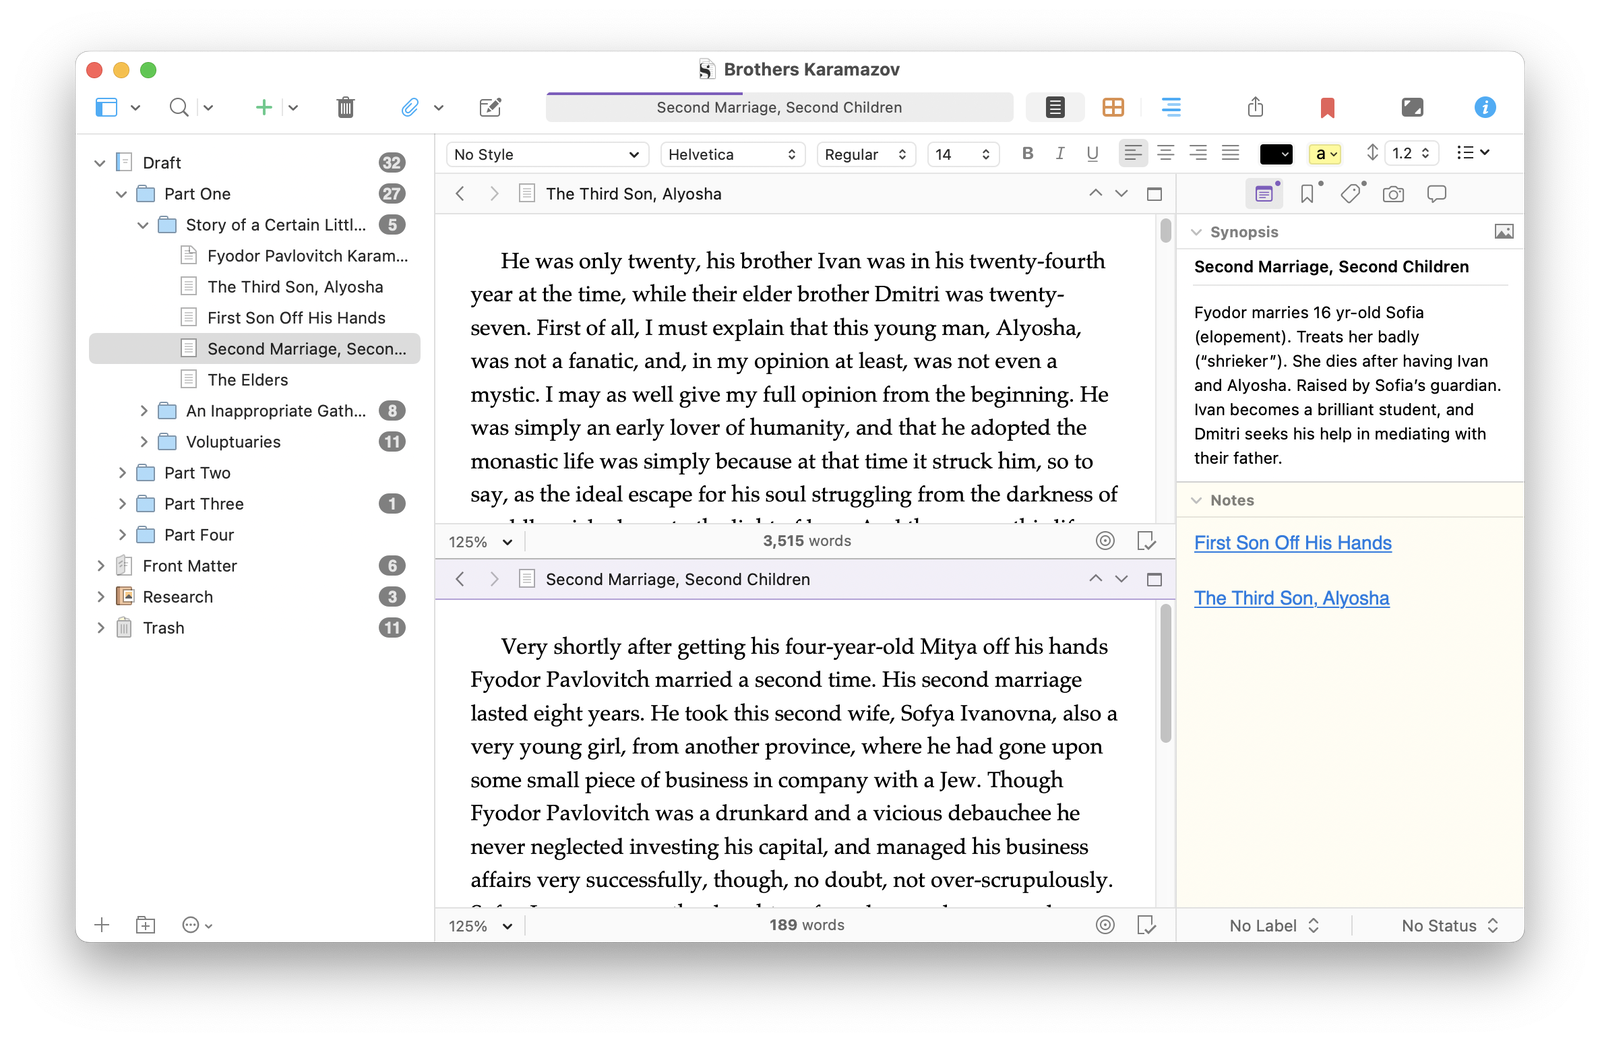
Click this link to open the linked file in a split window in the Editor; you can now search for information in the second file, or compare the two, if necessary. (Read See More of Your Project: Splitting the Scrivener Editor to learn how to use Editor splits.)
The Notes section of the Inspector is specific to each file, so these links only display with the file where you’ve added the links.
You could also create a file, with a name like Links, at the top of your Binder. Drag any file from the Binder to this file to create a link. You might want to put important links to important files here, ones that you know you need to refer to to check how something occurred or was described.
Another option is to use project bookmarks to link to files you want to refer to often.
Use Editor navigation history
As you work on a project, you will be going back and forth between various documents. These could be character and setting sketches, research documents, or files in the Binder. You can, of course, just click items in the Binder: click a file to view it, or click the > next to a folder to open it, access one or more of its subdocuments, then click again to close it.
You may do more of this navigation when you’re in the revision and rewriting stage, when you may often need to check different files for consistency and to ensure continuity.
Let’s say that you are editing chapter one, and need to go to chapter five to check something. That leads you to chapter six, then onto chapter eight, and then you need to back and make changes. One option is to click these files in the Binder to view them. Another option is to use the back and forward icons in the Header bar above the Editor.
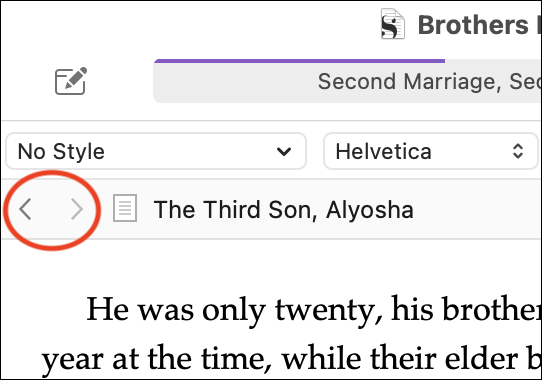
These icons work like similar icons in a web browser, taking you back and forward in documents you have viewed in your manuscript. Click < to go back to the last file or folder you were looking at, then click > to go forward. You can keep clicking for a long time; Scrivener remembers a lot of your history, across writing sessions.
You can also click and hold one of these icons, and you’ll see the entire history that Scrivener has recorded. Select any item in the list to jump to it.
Using this Editor navigation history is practical when you have lots of files, you’ve been jumping around through your project, and you don’t remember which file you were looking at. It’s also great to use if you’ve hidden the Binder (View > Hide Binder) to make your writing environment more minimalist.
The Scrivener Binder contains multitudes, and there are many ways of working with it, accessing files and folders, and navigating your projects. Try these tips out; you may find that they make it easier to work with the Binder.
Kirk McElhearn is a writer, podcaster, and photographer. He is the author of Take Control of Scrivener, and host of the podcast Write Now with Scrivener.